Built for Conditions You Actually Shoot In
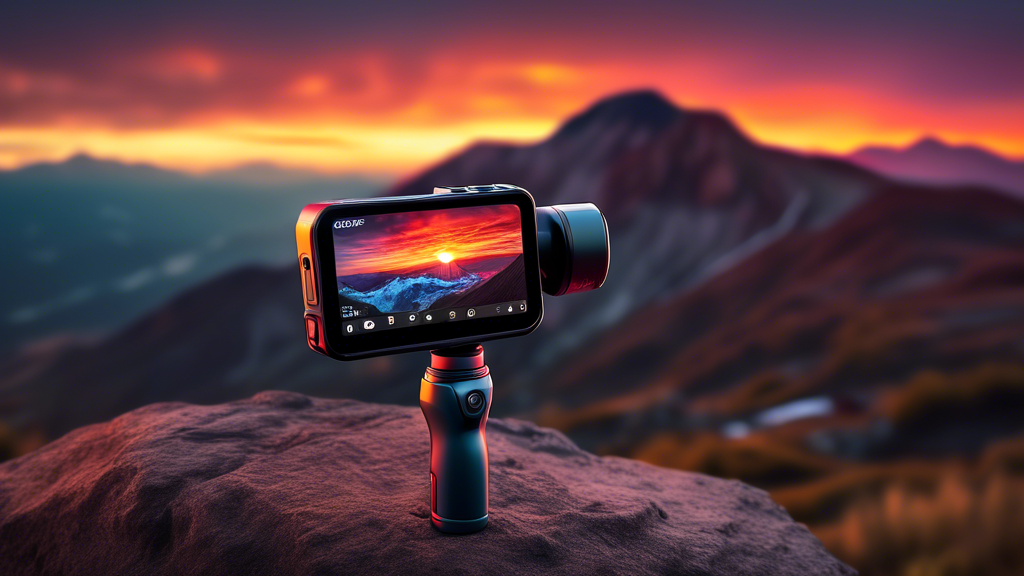
The DJI Osmo Action 4 is built around one core idea: a camera that survives the conditions riders and outdoor users actually shoot in — splashes, dust, drops, and temperature swings — without needing to be babied. Here’s how to get the most out of its hardware and settings.
Building Your Foundation: The Hardware Decision
Your camera choice is the foundational decision that enables or limits your creative potential. It determines what you can shoot and how easily you can shoot it.
Defining Your Needs: Action Camera vs. The Rest
When does an action camera beat a phone or DSLR? When durability, size, and mounting options are non-negotiable. The Osmo Action 4’s core proposition is its balance: a large 1/1.3-inch sensor for quality packed into a rugged, waterproof body. It’s the camera you can take anywhere without a second thought.
Mounting is Everything: Tactical Placement
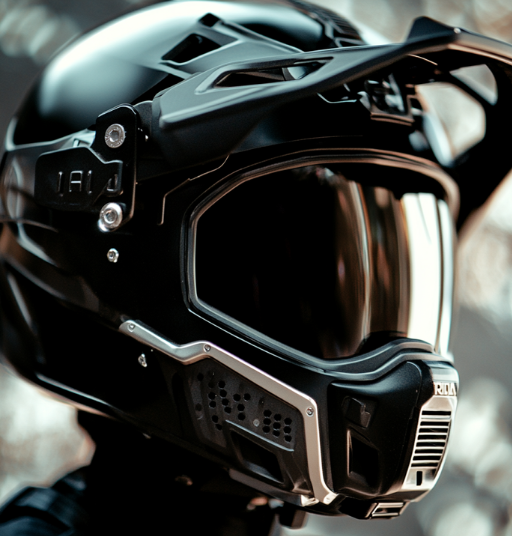
Your camera’s perspective defines your story. Use a helmet mount for a first-person view in cycling or skiing. A chest mount offers a stable, immersive angle for hiking. Handlebar mounts capture the action on vehicles, while a simple handheld grip works for casual vlogging. The foundational rule is security: always use the correct DJI adhesive mounts or magnetic locks for a shake-free hold.
Breaking Down the Kit: Core Components
Your experience is shaped by the accessories you choose. Here’s a breakdown of key components:
| Component Category | Options | Key Characteristics |
|---|---|---|
| Power | Standard Battery vs. Extended Battery | Standard offers 70+ mins; essential for most shoots. Extended battery provides 150+ mins; critical for long-form recording like events or travel days. |
| Mounting | Magnetic Quick-Release vs. Adhesive Base | Magnetic mount allows instant camera swaps; perfect for multi-angle vlogging. Adhesive base is a permanent, ultra-secure bond for high-vibration activities like mountain biking. |
| Protection | Dive Case vs. Standard Frame | Standard frame protects against bumps and is water-resistant to 18m. The Dive Case is mandatory for depths beyond 18m; it adds bulk but enables underwater color correction with a red filter. |
Commanding the Image: Your Core Control System
Think of the Action 4 not as a point-and-shoot, but as a dynamic system. Managing its settings directly dictates the quality of your footage.
Dynamic Range & Color: Taming Light and Shadow
The ideal target is capturing detail in both bright skies and dark shadows. Getting it wrong means blown-out highlights or murky, lost details. Your control method is the color profile. Use the standard profile for quick, vibrant edits straight out of camera. Engage the 10-bit D-Log M profile when you plan to color grade; it captures vastly more information, giving you professional flexibility in post-production.
Stabilization: The Invisible Art
The target is gimbal-smooth footage from a camera on a bumpy trail. The consequence of failure is unwatchable, jittery video. Your control lies in choosing the right mode. RockSteady is for general stabilization. HorizonSteady keeps the horizon level during panning motions. HorizonBalancing is the ultimate mode, keeping the frame level even if the camera rotates 360 degrees.
Low-Light Performance: Conquering the Dark
Your target is clean, detailed footage at dawn, dusk, or indoors. Failure results in a grainy, noisy mess. Control this by leveraging the large sensor’s natural light gathering. Use a lower frame rate like 24 or 30fps to allow more light per frame. Understand the trade-off: higher resolution in the dark often means more noise. Sometimes, 1080p in low light looks better than noisy 4K.
Mastering the Workflow: From Capture to Edit
This is where you move from basic operation to seamless artistry. It’s about optimizing your process before and after you hit record.
Preparation: The Power of Custom Profiles
Don’t reconfigure settings for every activity. Save custom profiles instead — for example, a “Mountain Bike” profile (4K/60fps, HorizonBalancing, D-Log M), a “Snorkeling” profile (4K/30fps, RockSteady, Standard Color), and a “Daily Vlog” profile (2.7K/30fps for battery life, HorizonSteady). This lets you switch contexts in two taps.
Ongoing Inputs: Power and Media Strategy
Efficiency is key. Use the quick-release battery system and carry spares in a waterproof case. For all-day shoots, a small power bank with USB-C charging keeps you going. For media, only use high-endurance, V30-rated microSD cards. They are built for the constant write speeds of 4K video and prevent corrupt files.
Shooting for the Edit: Strategic Capture
Think like an editor while filming. Get shot variety: wide establishing shots, tight action details, and personal POVs. Always record a few extra seconds before and after your action (pre- and post-roll) for clean edit points. Capture dedicated, stable B-roll—shots of your environment, gear, or reactions—to weave into your story later.
Preventing Disaster: A Proactive Stance
Gear failure should never spoil an adventure. Adopt a proactive mindset to eliminate common threats.
Prevention: The Non-Negotiable Pre-Shoot Checklist
Before every outing: 1) Clean the lens with a microfiber cloth. 2) Check all mount connections are tight. 3) Format your memory card *in the camera*. 4) Ensure batteries are charged and the camera body is sealed if going underwater. This two-minute ritual saves hours of heartache.
Intervention: A Tiered Troubleshooting Guide
When issues arise, respond methodically. For overheating (rare, but possible in hot, static shoots), first, move to shade and remove any non-essential casing. For connectivity drops with the DJI Mimo app, restart both the app and the camera’s Wi-Fi. For fogging inside the dive case, place a silica gel packet inside the case before sealing it to absorb moisture.
Your Situational Shooting Roadmap
This practical guide tailors the Action 4’s system to your specific adventure.
| Scenario | Primary Settings | Key Accessories |
|---|---|---|
| Water Sports | 4K/60fps, RockSteady, Standard Color. Use 4K/30fps for lower light. | Dive Case, Floating Hand Grip, Lens Guard. |
| Cycling & Motorsports | 4K/120fps for slow-mo, HorizonBalancing, D-Log M. | Adhesive Helmet Mount, Chin Mount, or Chest Mount. Extended Battery. |
| Daily Vlog & Travel | 2.7K/30fps (for efficiency), HorizonSteady, Standard Color. | Magnetic Quick-Release Mount, Mini Tripod, DJI Mic 2 for audio. |
| Low-Light & Night | 4K/24fps, RockSteady, Low-Light Video Mode enabled. | Stable handheld grip or fixed mount (tripod). Avoid digital stabilization in pure darkness. |
The Bottom Line
Most of getting good footage from the Osmo Action 4 comes down to matching settings to the activity ahead of time rather than fumbling with them mid-ride: a saved profile per activity, a pre-shoot checklist, and the right mount for the job. That preparation is what makes the camera feel reliable rather than fiddly.