
A General Installation Guide for Helmet-Mounted Action Cameras
Most action cameras — regardless of brand — use one of two mounting systems: a GoPro-style two-prong buckle adapter, or a magnetic quick-release base. The installation steps below apply to either.
Step 1: Choose the Position
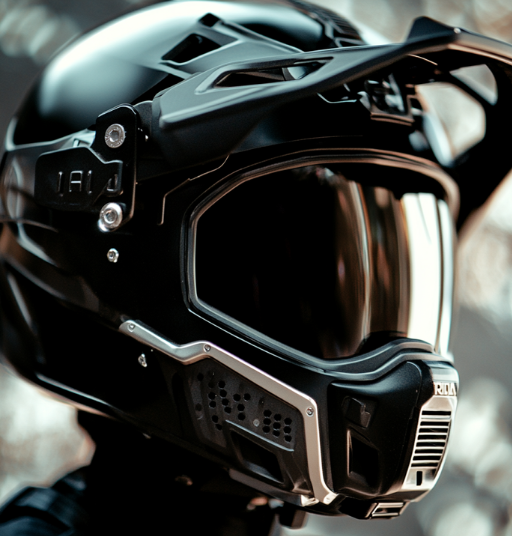
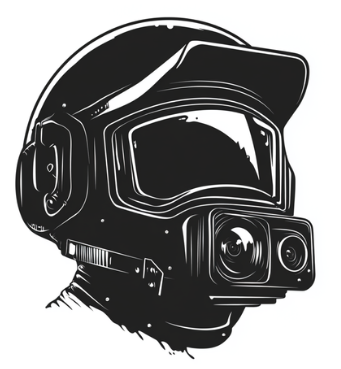
Chin mounts give the most natural point-of-view angle and the least wind resistance. Side mounts are easier to reach but skew the angle. Top mounts give a higher vantage point but catch more wind and add more leverage on the adhesive bond, which matters at highway speed. Pick a position based on the footage style you actually want, not just convenience.
Step 2: Prep the Surface
Adhesive mounts fail almost exclusively because of surface prep, not the adhesive itself. Clean the helmet surface with isopropyl alcohol and let it fully dry before applying anything — oils from packaging, sunscreen, or handling will weaken the bond significantly.
Step 3: Respect the Cure Time
Most adhesive mounts need 24 hours to reach full bond strength. Riding before that window is one of the most common causes of a mount failing mid-ride. If a ride can’t wait, use a mount with a mechanical strap or buckle system instead of relying on adhesive alone.
Step 4: Attach the Camera and Set the Angle
With the camera clipped into the buckle adapter, check the angle by looking through the camera’s live preview (via its app, if it has one) rather than eyeballing it — a mount that looks level by eye is very often tilted on screen. Aim slightly down from level; footage that’s tilted up toward the sky loses the road/trail in frame.
Step 5: Add a Safety Tether
A thin tether cord between the mount base and a secondary anchor point on the helmet means a failed adhesive bond doesn’t turn into a lost or flying camera. This is inexpensive and worth doing regardless of camera brand or price.
Step 6: Route Cables and Test Before Riding
If using an external microphone or auxiliary battery, route the cable so it can’t catch on gear, a jacket zipper, or the helmet strap. Once everything is mounted, do a short test ride at low speed before committing to a longer trip — this is the easiest point to catch a mount that isn’t as secure as it looked in the driveway.