You’ve got a DJI Osmo Action 3 mounted on your helmet and you’re getting shaky, washed-out, or audio-ruined footage. The camera is capable of excellent results — but the default out-of-box settings are not optimised for motorcycle use. This guide walks through setup, settings, and the specific adjustments that make the difference between amateur and professional-looking ride footage.
Step 1: Choose the Right Mount Position
Before touching a single camera setting, your mount position determines 80% of your footage quality. The wrong position means no amount of stabilization or settings will save it.
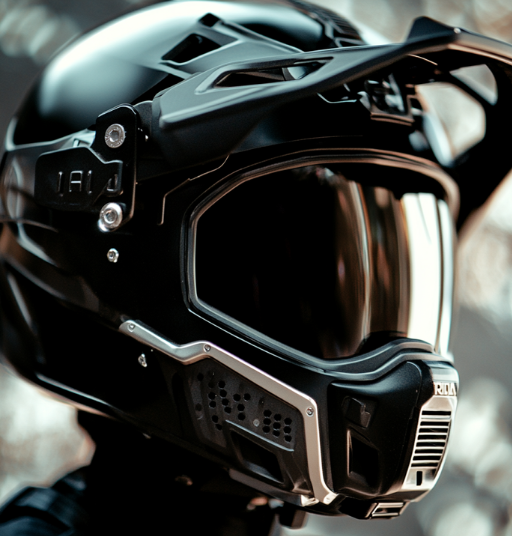
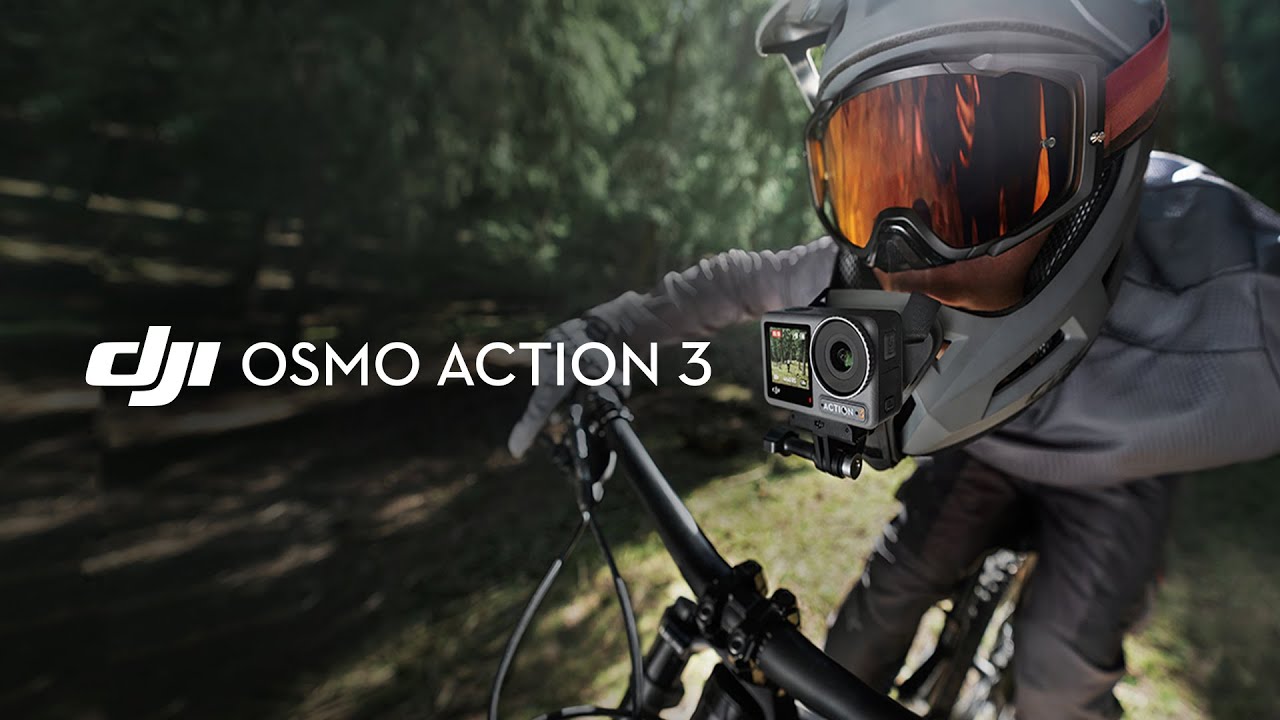
Chin Mount (Recommended for Most Riders)
Position: on the chin bar of a full-face helmet, centred or slightly offset.
Why it works: Close to your eye line, sheltered from wind by the chin bar (reducing both noise and vibration), and the most natural perspective for viewers.
Best chin mounts for the Action 3: DJI Helmet Chin Mount ($29), ULANZI U-400 (~$18), Telesin Chin Mount (~$15).
Top Mount (Open-Face and Modular Helmets)
Position: on the top of the helmet, as far forward as possible without exceeding the helmet’s slope.
Why it works: The only practical external option for open-face and modular helmets. Elevated perspective shows more road and scenery.
Downside: More aerodynamic drag at speed; slightly more vibration without the chin bar buffer.
Step 2: Core Camera Settings for Riding
Open the DJI Mimo App First
Before your first ride, connect the Action 3 to the DJI Mimo app (iOS/Android) and update firmware. DJI regularly releases stabilization improvements via firmware — skipping this means potentially running outdated stabilization software.
The Settings That Matter
Resolution and Frame Rate
Set: 4K / 60fps for all standard riding. This gives smooth motion and enough resolution for cropping.
For slow-motion analysis of technique: 2.7K or 1080p / 120fps. True 4K/120fps is not available on the Action 3 (it was added on the Action 4).
Stabilization
Turn on: RockSteady 3.0. This is the electronic stabilization — it must be manually enabled each time, it doesn’t default to ON.
Also enable: Horizon Steady. This runs independently from RockSteady and keeps the horizon level even if the camera tilts. Set to ±45°.
Field of View
Use: Wide (not Ultrawide) for road riding. Ultrawide creates barrel distortion that makes straight roads look curved, and at high speeds the visual distortion becomes disorienting. Switch to Ultrawide for off-road or adventure riding where the wider view adds context to the terrain.
Shutter Speed
The shutter speed rule for video: set to double the frame rate.
At 60fps → use 1/120s
At 120fps → use 1/240s
This gives natural motion blur that matches how our eyes perceive movement. Using a faster shutter makes motion look stuttery; slower makes it look smeared.
ISO
In full daylight: Set ISO max to 800.
Overcast/changing light: 3200.
Dawn/dusk/night riding: 6400.
Lower ISO = less grain in bright conditions. Higher ISO = more light in dark conditions but more noise in the image.
White Balance
Leave on Auto for most riding — the Action 3’s auto white balance is reliable. Set it manually (5600K) only if you’re recording in artificial light (underground car parks, tunnels) where auto tends to drift.
Color Profile
Normal colour: if you’re posting footage directly to Instagram/YouTube without editing.
D-Cinelike: if you’re colour grading in DaVinci Resolve or Premiere. This flat profile retains more dynamic range for post-production.
Step 3: Fix Audio — The Most Overlooked Issue
Internal microphone performance degrades significantly above 80 km/h due to wind noise. Your options:
- Option A (best): DJI Mic Mini — clips inside the helmet liner near your chin, connects wirelessly to the Action 3. Clear audio at any speed. ~$89.
- Option B: Foam windscreen — a custom-fit foam cover over the Action 3’s built-in microphone reduces wind noise by ~50%. Third-party covers cost ~$5–10 on Amazon.
- Option C: Record audio separately — Bluetooth headset audio (Sena, Cardo) recorded from inside the helmet, synced in editing. Best quality but requires editing work.
Step 4: Pre-Ride Checklist
Run through this before every ride to avoid wasting storage or missing footage:
- Check battery level — charge if below 50% for rides over 45 minutes
- Confirm microSD has enough free space (4K/60fps uses ~4GB/hour)
- Confirm stabilization (RockSteady) is ON — it doesn’t persist between power cycles in some firmware versions
- Check mount security — pull gently on the camera in all directions
- Start recording, check the front screen confirms the footage looks level and framed correctly
- Verify audio is picking up correctly with a 10-second test clip
Step 5: Getting Better Footage on the Ride
Vary your speed when filming interesting scenery — faster looks more dramatic; slowing down makes landscape shots feel cinematic. If you have a passenger or ride with others, a following shot at constant speed looks professional.
Use the DJI Mimo app’s timelapse mode for layby shots while you take a break — the camera handles the rest and you get a cinematic landscape clip.
Don’t stop recording at every red light — the urban environment at a standstill is actually interesting context for ride content. Let it roll.
For personalised settings based on your specific riding conditions, use our free Footage Settings Optimizer tool — enter your camera model, typical riding conditions, and content goals to get exact recommended settings.
Frequently Asked Questions
Why is my Osmo Action 3 footage shaky even with RockSteady on?
Most likely causes: (1) RockSteady wasn’t applied at recording — it must be turned on before recording starts, not after. (2) The mount is loose — check that the Action 3 is fully clicked into the mount and the mount itself is secure to the helmet. (3) High-frequency vibration from a specific engine type can occasionally defeat EIS — try a secondary anti-vibration mount pad under the base.
How do I transfer footage from the Action 3 to my phone?
Connect via the DJI Mimo app over Wi-Fi. Enable the Action 3’s Wi-Fi from the settings menu, find it in your phone’s Wi-Fi list (named “DJI_Action3_XXXX”), then open Mimo to access and transfer files. Transfer speed over Wi-Fi is around 10–15 MB/s, so a 4GB clip takes about 4–5 minutes.
Can I use the Osmo Action 3 in rain?
Yes — it’s waterproof to 11 metres without any additional housing. Rain riding is not a concern. Clean the lens after a wet ride with a microfibre cloth to prevent water spot residue.
Official resources: DJI Osmo Action 3 user manual and downloads | DJI Store.